One Book, Gray Gesso, 15 Collages Sketchbook Experiment
There’s no single way to use a sketchbook. You don’t even have to use one.
I had a big plan for a sketchbook challenge, but the more I worked in my sketchbook and thought about what I wanted to do and what I’d already shared, the more the project changed. I realized I was reinventing the challenges I’d created for my Scraps class (how quickly I’ve forgotten the work I’ve already done!).
The First Challenge- Limitations
Working with limitations is one of my favorite ways to challenge myself in my sketchbook and in the studio. When I remove choices, I force myself to be more intentional and creative. In this challenge, I worked with both limited materials and a limited palette. This challenge was going to be one about mark-making, but it went in a different direction once I began working with the materials. If that happens once you get started, don’t fight it. Instead, it became a chance for me to explore minimalist composition.
This blog post has the links for my favorite supplies.
Materials
One old book that you’ll deconstruct
Small sketchbook or loose sheets of paper (I’m using Fabriano Watercolor paper cut to 9” x 6”)
Adhesives and Tools
Kokuyo Gloo Square Glue Stick
EK Success Cutterbee 5” Scissors
Teflon Bone Folder or old credit card/hotel key
Supporting Materials
Envelope for scraps
Old magazine or loose sheets of scrap paper for a gluing surface
Pencil
Unwaxed deli paper
Pouch/box to store your supplies (I use the Keeper Pouch from Peg & Awl)
Step 1: Choose your book
Select a single old book with paper you enjoy for its color, texture, and weight. It should tear easily, but be strong enough to hold gesso without curling. Deconstruct the book (here’s a tutorial) and separate out 15-20 pages.
For my project, I chose a book of poetry because the stanzas gave me shapes to respond to.
Step 2: Add Gesso
On a palette, mix white and black gesso to create a light gray. Using a Catalyst wedge or old credit card, scrape the gesso over the pages. You’ve got unity from the color and paper; now add some variety with how you apply the gesso.
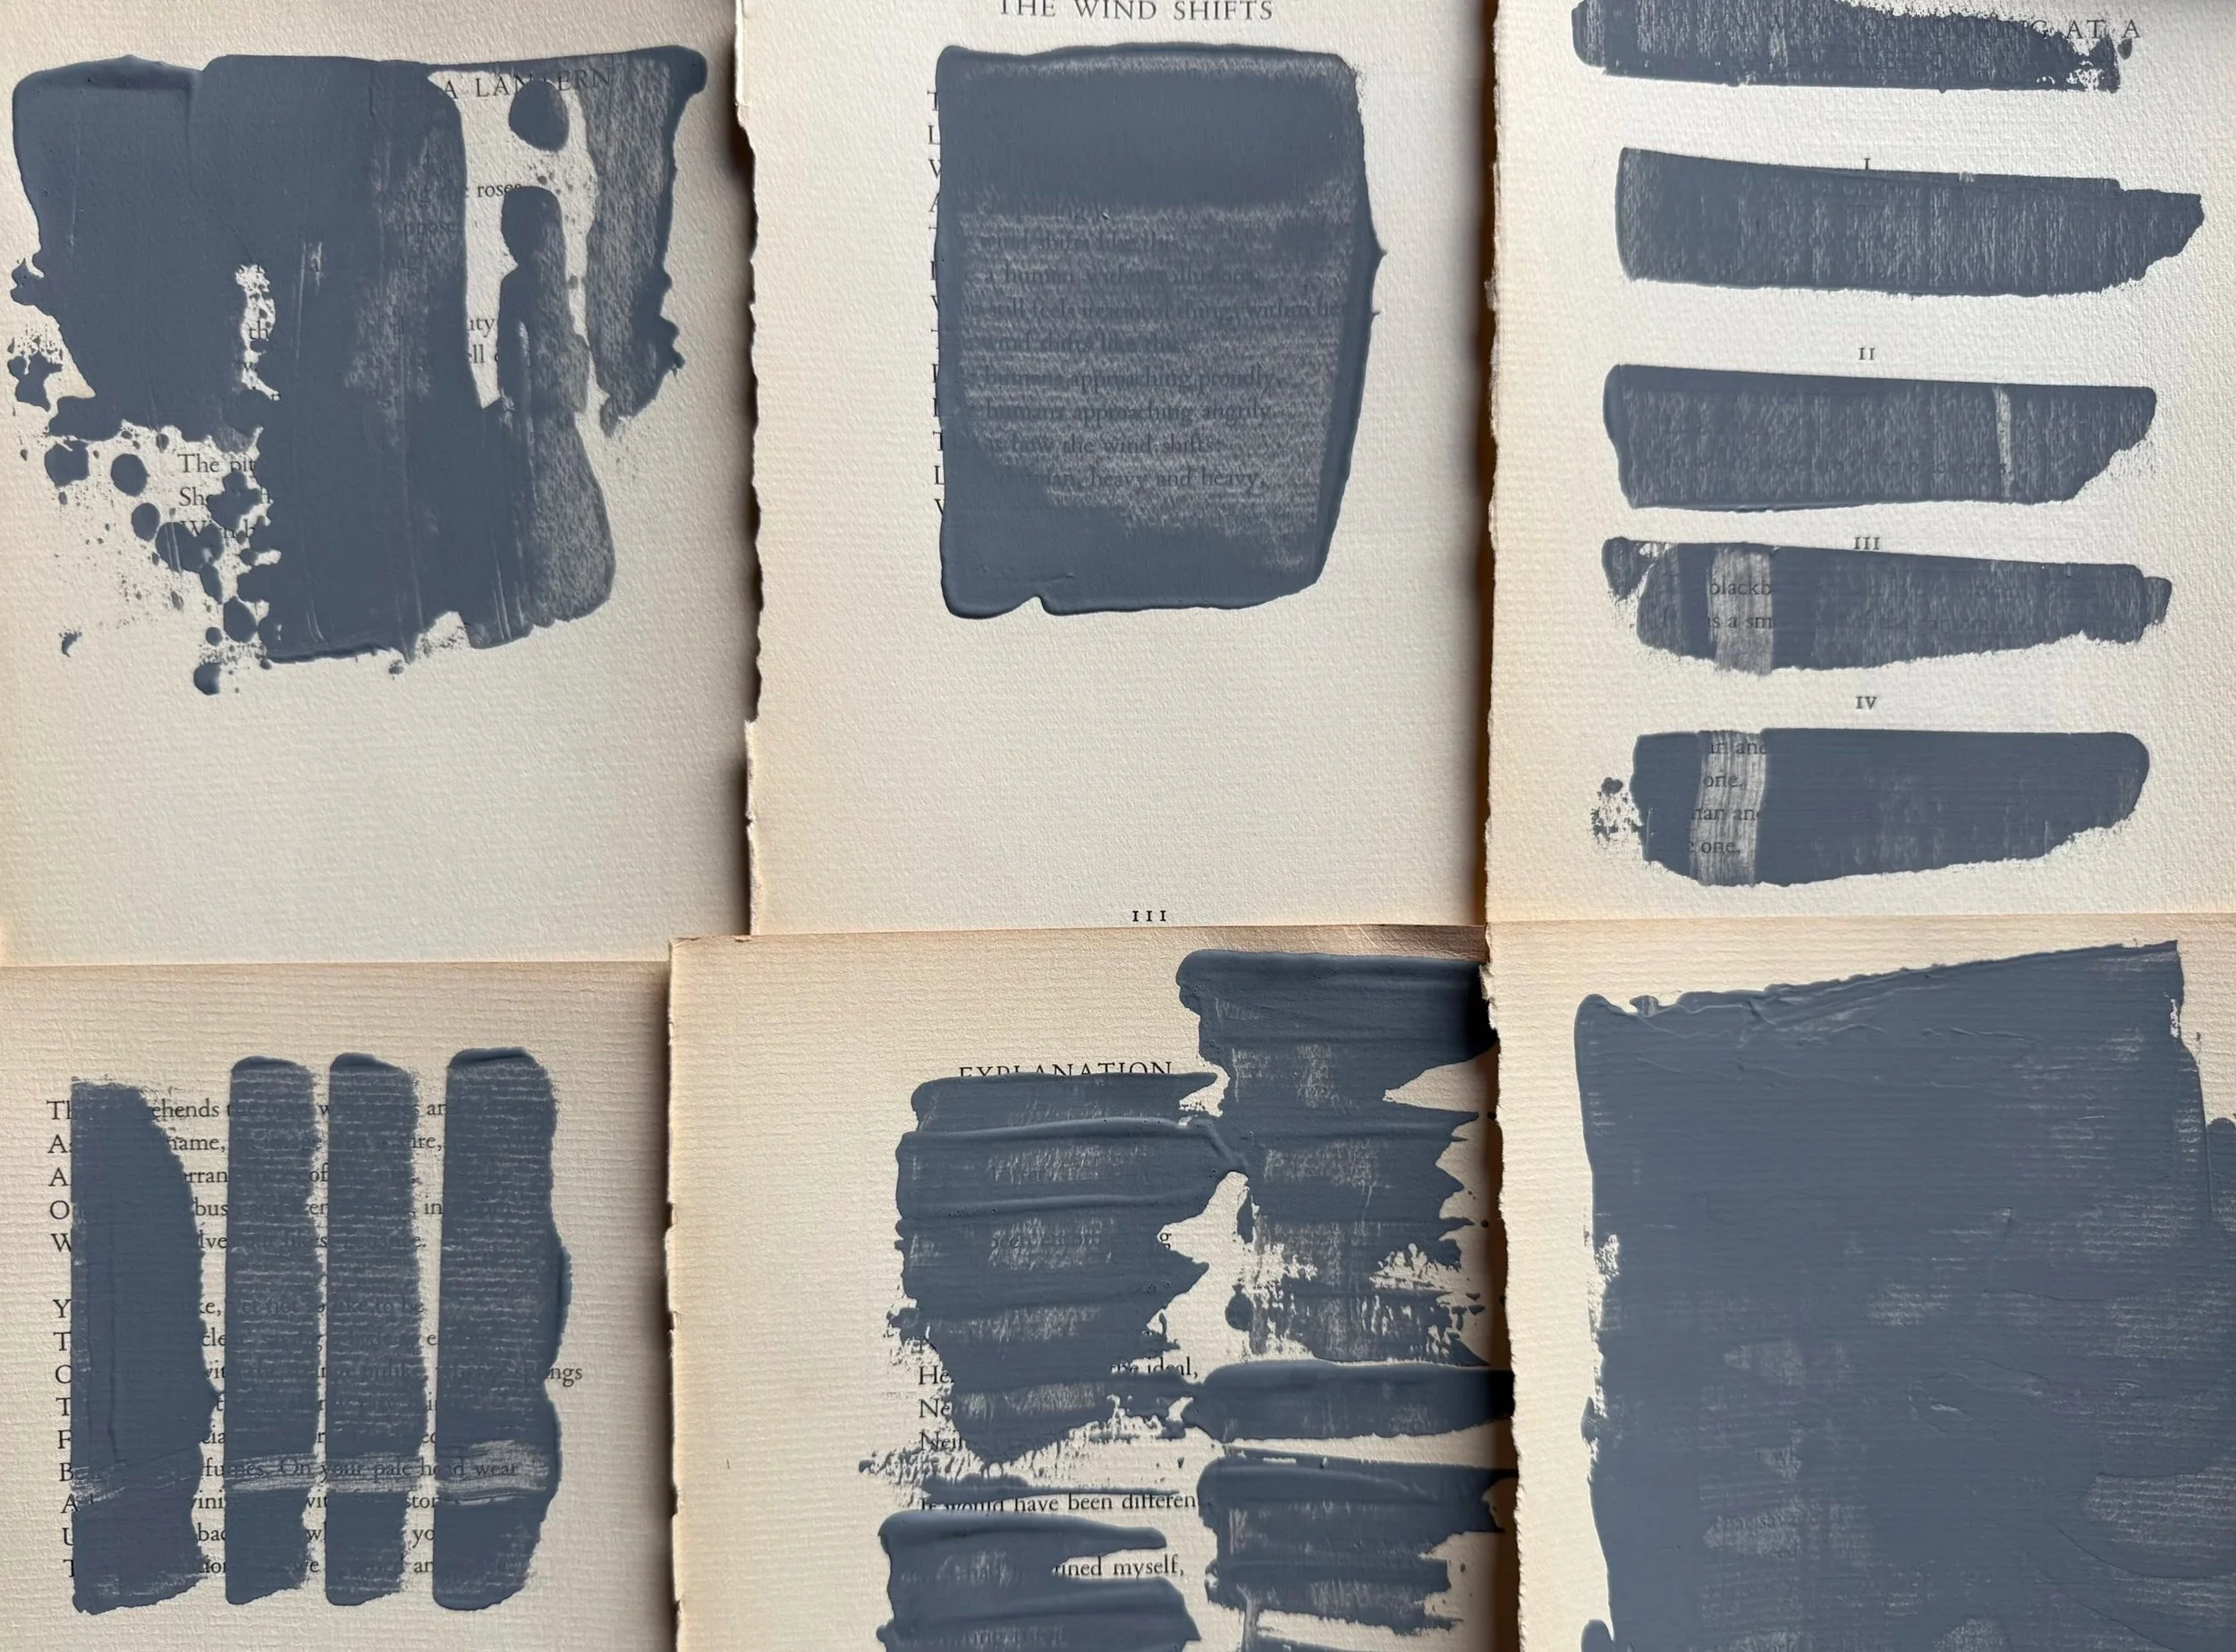
I responded to the shape of the stanzas on the page and how the gesso moved from the wedge to the page. It became a meditative process, and I ended up with 30 pages instead of 15!
Step 3: Optional Mark Making
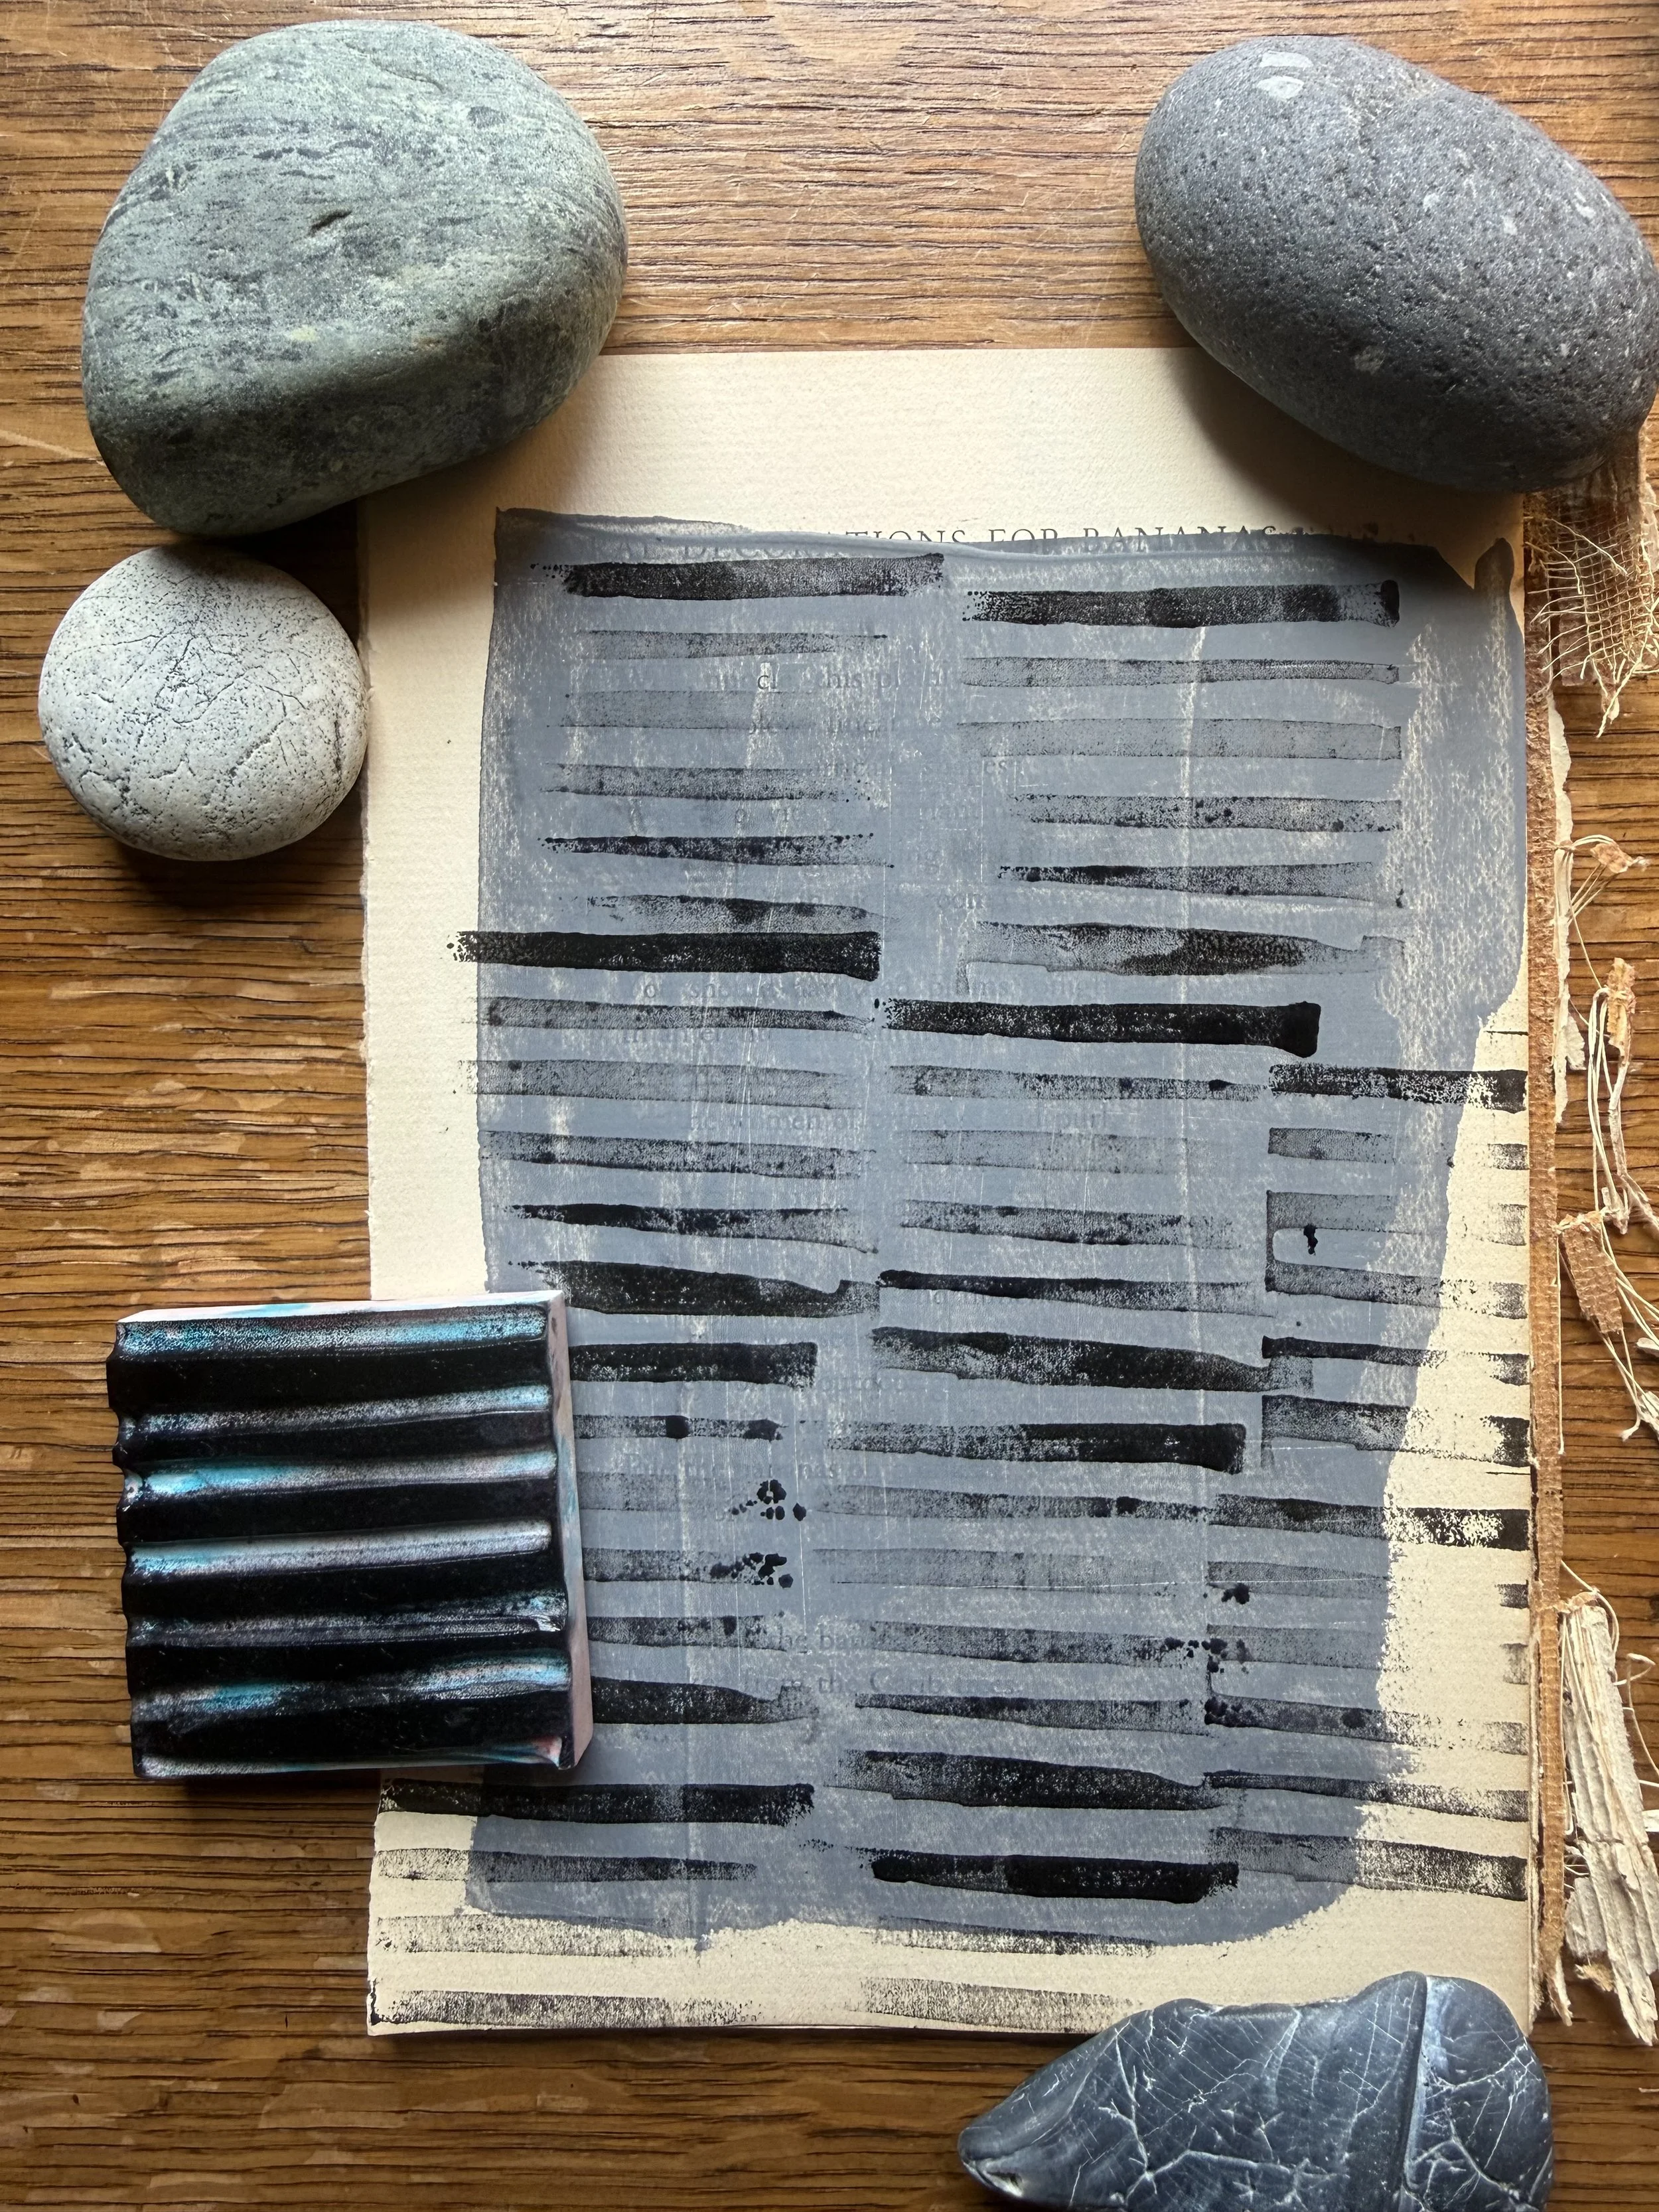
I used ink pads, Micron pens, and stamps to mark a few of the papers. Once I started collaging, I abandoned the idea. The marks on the gesso said enough.
If you do wish to add marks, use only one color (black is my suggestion)
Black ink pads with stamps of different shapes and patterns
Black pens, pencils, markers, or other mark-making tools
Hole punches or shape punches
Step 4: Collage
Take as long as you need, keep your materials simple (glue stick, the papers you created, scissors, sketchbook), and let your hands take over.
For your first piece, glue a single sheet of your prepared paper into the sketchbook. Take a second page and cut and tear. Let the existing marks guide you. If the page has some letters, maybe abstract them. If you see a circle in the gesso, cut it out. Arrange them, gluing as you go, until the piece feels complete. Save all the scraps; they will be material for future pieces.
Number the work and move on to the next page today or another day. Create three in a sitting, or one. You’ll find your rhythm.
Don’t overthink the compositions. In fact, the more of these I did, the less interested I was in marks and minimalism, and I just let myself play with how the papers tore and stacked. I worked on them over the week when I couldn’t get started in the studio or needed a creative break from a business-focused day.
Step 5: Revision
The more I made, the more tiny scraps I had, and I used them to revise the earlier collages. This is an optional step, but revision is usually good practice.
Step 6: Reflection
When I finished 15, I felt I was done, that I’d explored the colors and materials as much as I wanted to (even though I had so much paper left).
I looked back at the collages and wrote in my daybook about what I noticed.
I liked a few collages from the set and many I didn’t. The ones I did like might inform my work later. My main takeaway was that I didn’t like working with only the gray painted book pages. I wanted more ways to add texture, movement, and marks. There weren’t enough shapes or typography to abstract.
This is the kind of clarity you get from completing a small series. You're not overthinking—you're observing. You're learning what actually interests you.
My Scraps: A Tiny Collage Practice has, among other things, twenty more challenges for your sketchbook.