Dyeing with Plants and Flowers
As usual, I’m starting this blog off with my normal disclaimer that I am not a careful artist who takes notes on exactly what I’ve done, or who even follows the careful directions I’m reading to learn how to do something. I just go for things and hope for the best. If that sounds like you, then read on!

I once spent a summer learning how to dye wool. I remember the day of a full solar eclipse when the garden fence was draped with a rainbow of dripping wool. In the haze of the day, it was the brightest thing in the garden. I spun the wool for weaving and knitting projects. The dye and process used to dye cotton are a little different, but still easy.
I start by scouring the cotton in a bath of PH-neutral dish soap and soap flakes until the water turns yellow. Then the fabric is mordanted in alum in a second stove-top bath. It’s rinsed and dried and is ready to dye and hold the colors. I used two teaspoons of alum to mordant a few ounces of cotton. This might have been too much, but I didn’t feel like weighing anything.
The fun part is sourcing the plant material and creating the dye. I’ve tried a lot of dye sources: onion skins, black beans, oak galls, ferns, black-eyed susan, birch bark, curly dock, yarrow, and marigolds. I’ve got another list of what I want to try next and I’m just waiting for the blackberries, pokeweed, and elderberry to ripen. I also have a stock of purchased natural dye powder that I’m planning to try this week. I’m super excited about the indigo.
I tried solar dyeing with the marigolds, oak galls, and bark, but gave up because I didn’t have the patience to wait the weeks it would take for the sun to do its magic. I ended up trying to speed the process up on the stove, but only the marigold and oak galls worked. I think the bark would need a lot of boiling.
The black beans were soaked overnight to release the color, and everything else was boiled down on the stove. The amount of water you boil the plants in is what you’ll have to dye with. I’m only dyeing small quantities of fabric at a time, so I didn’t create huge amounts of dye.

Once the dye is strained of the botanicals, it’s ready to use. Just heat it up and add the wet fabric. Simmer gently and stir often until the color stains the fabric to the desired shade. Rinse, dry, and know that it will lighten a few shades when dry.
I used every dye bath twice to exhaust as much color as I could. For some added magic, I dipped the fabric from the second bath into iron water to change the color completely (usually to a beautiful shade of gray).
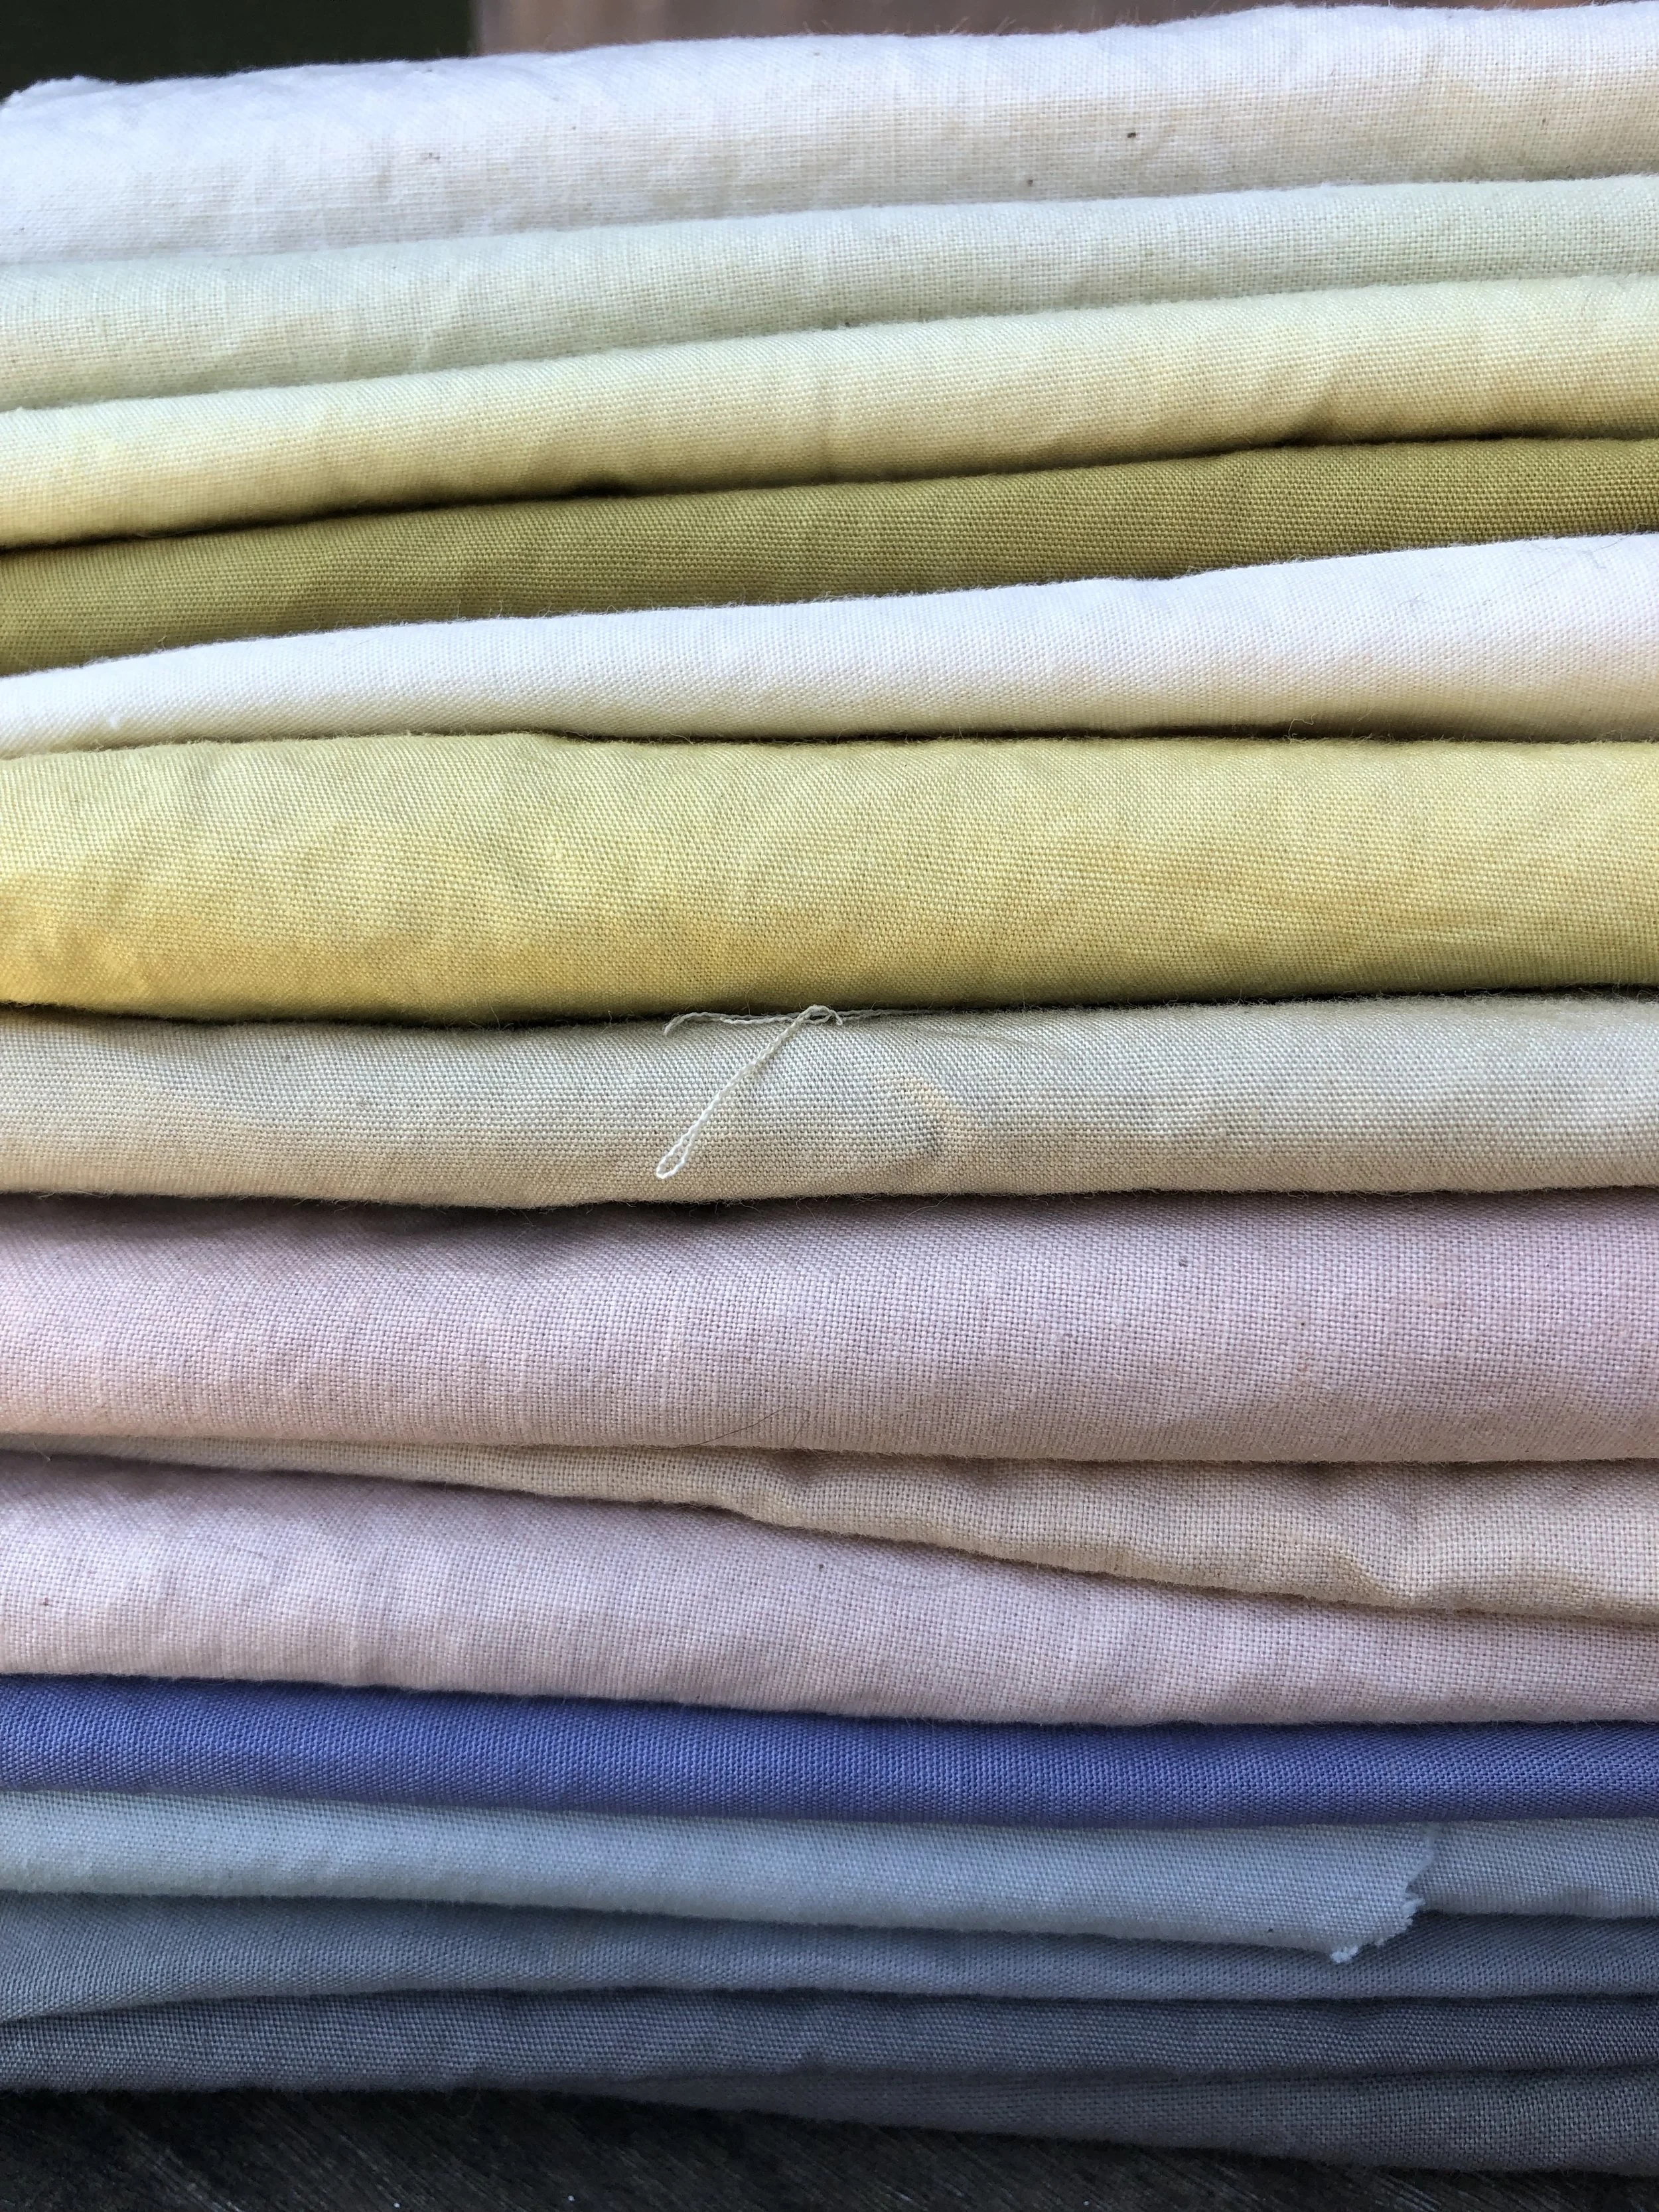
The colors of the fabric I’ve dyed harmonize perfectly!
I did all this work in my kitchen, using pots and utensils that are dedicated to dyeing. The used water was dumped in the yard and the fabric was rinsed with the garden hose. The iron water was used outside and I’ve learned to not use it near the patio stones ever again.
This is really an easy process and I hoped that I’ve conveyed how simple and enjoyable it is. I have plans to use the fabric in hand stitching projects and for collages.
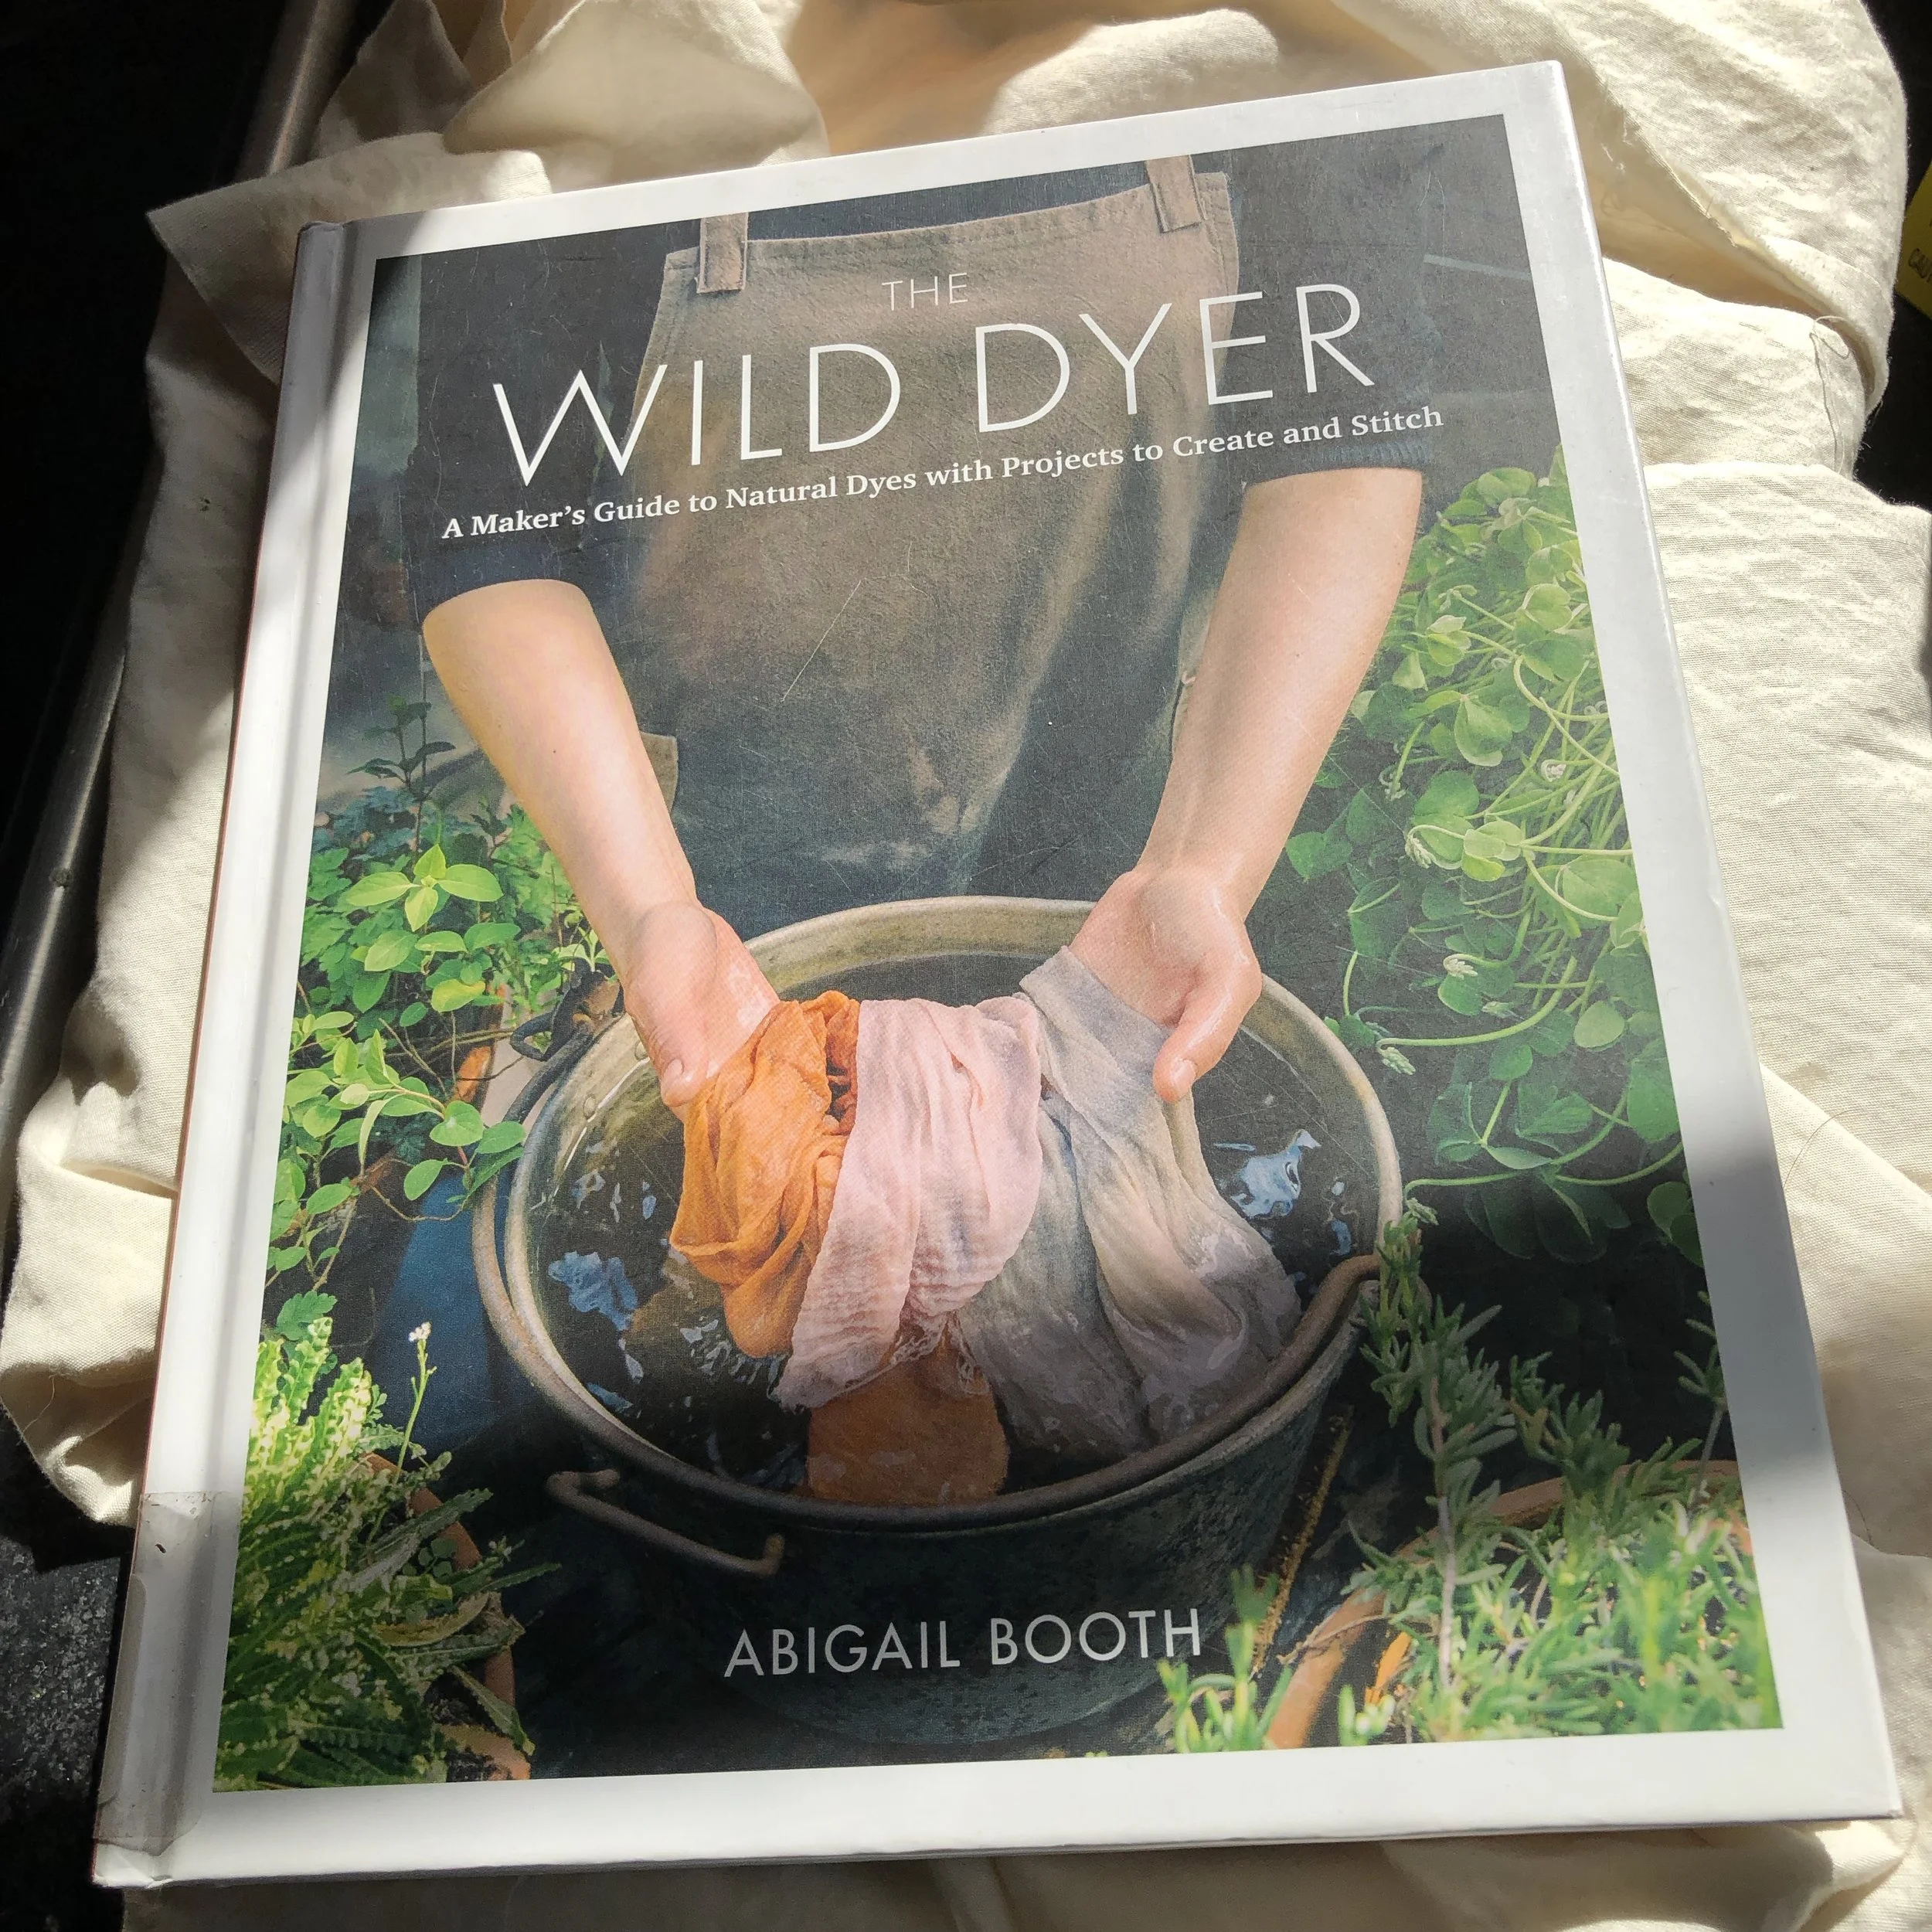
While there are many, many tutorials available online, I do recommend the book The Wild Dyer: A Maker's Guide to Natural Dyes with Projects to Create and Stitch by Abigail Booth.