Cutting Stencils (things are rarely as easy as they look)
A few years ago, I saw that Tara Axford was using a Cricut Joy to create custom stencils for gel plate printing. I put one on my Christmas list and when it arrived, happily went to work. And then the frustration began. Every so often, I dig it out and try again, usually after just enough time has passed so that I’ve forgotten how to do anything and have to relearn the steps. This blog is written to help you figure this out, but mostly it’s so I can have a reminder of how it works.
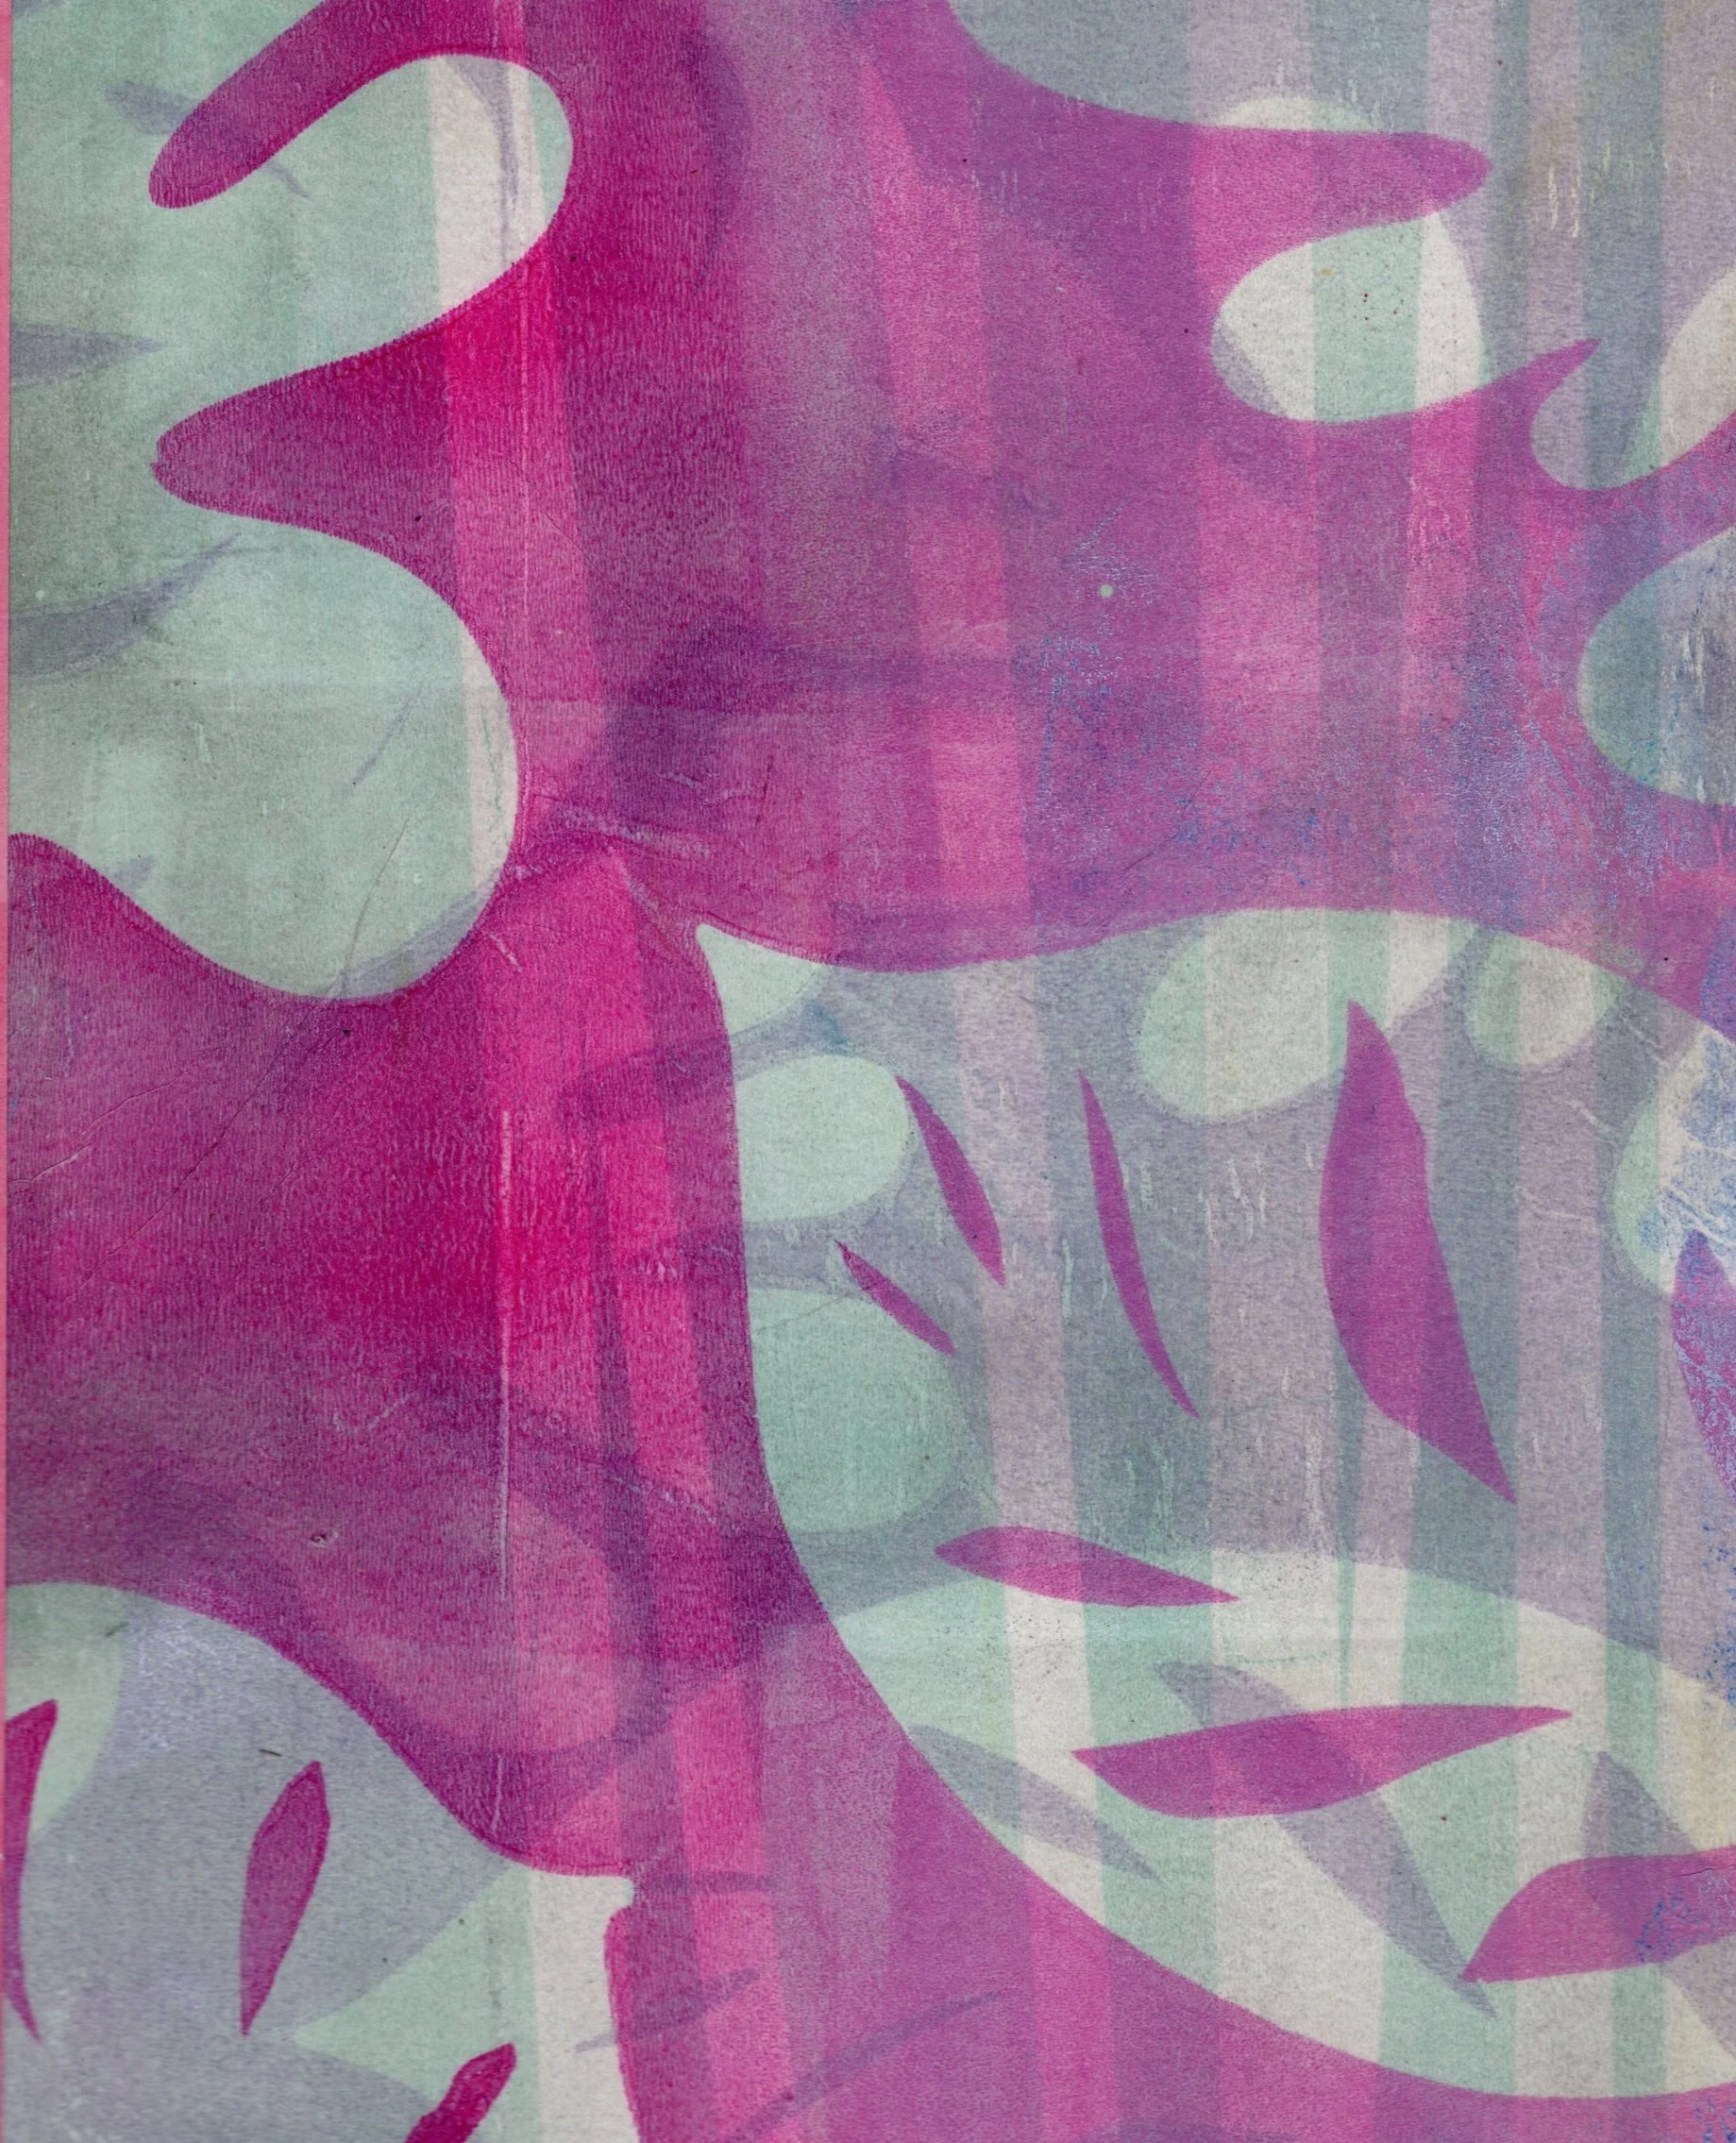
For those unfamiliar with a gel plate, it’s a way to create monoprints without a press. I have several in different sizes and have used them with all different types of paint and paper. They can be made at home, but the commercial versions last longer and don’t grow mold. To use the plate, you squirt on a few dollops of acrylic paint, roll it smooth with a brayer, lay a piece of paper over the top, and press down. When you remove the paper, you have a print. Then you start adding texture to the paint, or using stencils, before taking the print for more interesting prints. It’s super fun for adults and kids. My son has his own plate and he’s been printing with me since he was three.
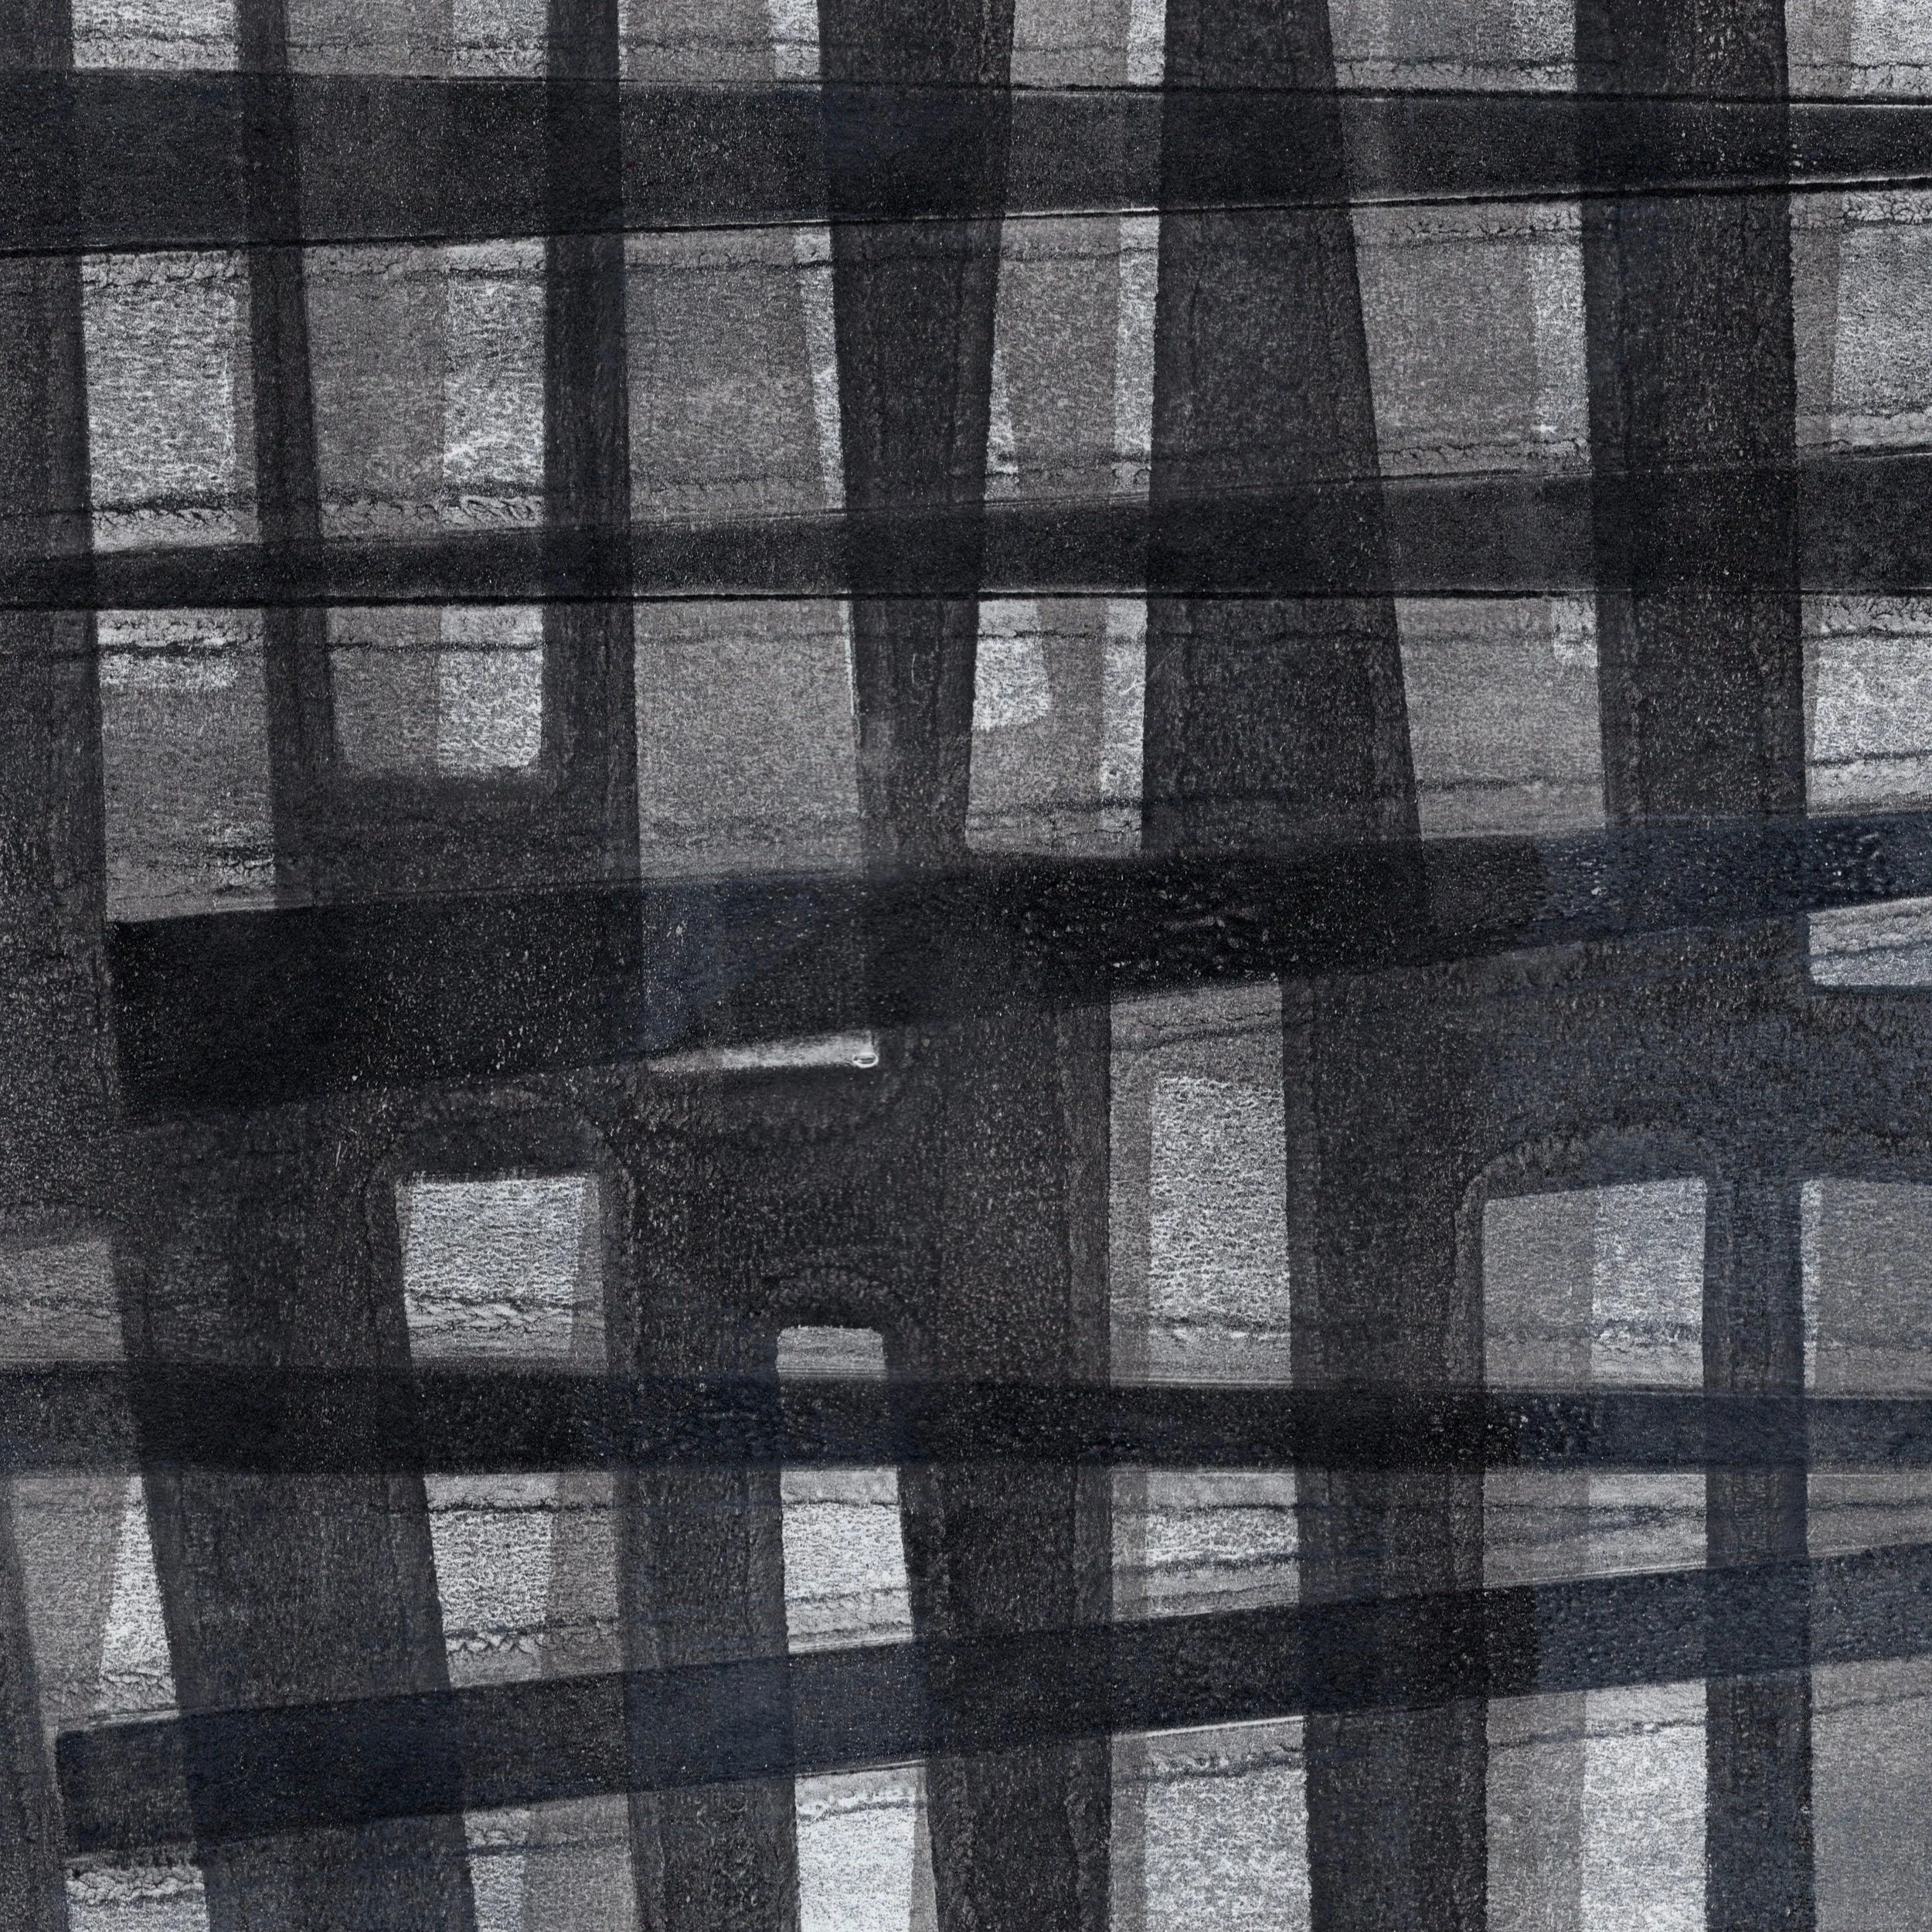
A print made on the gelli plate using handcut Yupo stencils.
While you can use commercial stencils, I wanted to make my own. I could have cut them out of cardstock or Tyvek mailing envelopes, but I wanted shapes that were more interesting than I could create. Armed with a pad of Yupo and my Joy, I set to work. I’m going to spare you the list of mistakes I made, and focus on what I’ve found works.
The Technology/Materials
I use only the free version of the Cricut software and only on my computer (there is an app for your phone)
I purchased a set of PNG clipart images from an Etsy seller (similar to these)
Procreate Pocket was a fairly inexpensive purchase if you want to make your own designs (or use the real version if you have it)
While I tried the Cricut materials, Yupo paper makes the best stencils. There are other types of synthetic papers available that are less expensive.
A paid subscription to Canva (or some other program that lets you have a transparent background on your image)
Directions for a free/ready-made PNG cut
Add a shape to your Cricut Design Space. This can either be one of the free shapes or upload a purchased PNG file. The Joy can only cut a stencil that’s 4 1/2 inches wide, so plan accordingly. You can stretch out the length to fit whatever size paper you have, but the width is set. You can add multiple shapes to one cut.
Click the Make-It button and follow the directions to cut on a mat. When it comes time to select the paper, I select the Medium Cardstock option and then set the pressure to “More”. This seems to be the best way to ensure that the blade actually manages to cut into the Yupo.
Load the mat and cut! It mostly works.
Tips:
I put a layer of Elmer’s Repositionable Glue on the surface of the mat to give extra sticking power so the paper doesn’t slide around.
If it doesn’t cut, try selecting another type of paper (instead of the cardstock option) to see if that helps for your thickness of Yupo.
When I’ve only had a partial cut, I will cut again on the same sheet just to see what shapes I end up with. Better than wasting the paper.
Directions for Canva
This is a great option and super easy! I use the postcard template, search for shapes to use, and then save the file as a PNG with a transparent background. I upload it into Cricut Design Space as a cut-only file and create the stencil using the first set of directions.
Directions for drawing your own in Procreate Pocket
This is where I have spent about a million hours. I can sometimes get this method to work, but it’s about 1 in 100. I have no idea what I’m doing wrong, so if anyone has done this successfully, please help! The main issue is that while I can get a print and cut file, I can’t get a cut file. Even if I upload the design into Canva and resave the image with a transparent background it still won’t create a clean cut file. If I ever figure this out, I will update this blog and let you know in my newsletter.
I know that I have much to learn besides just how to get these files into the Design Space. For example, shapes can be layered to create more complex cuts, but I’m not there yet. Please share your knowledge about creating stencils!