Another Round of Art Studio Organization
I was so fed up with having so much stuff, not enough table space, and tripping over things all the time. Time for another deep clean in my art studio.

Step 1: Declutter and Sort
I went through every box, drawer, and stack in my studio in a ruthless quest to get rid of as much as I could. All the odd little bits I was saving just in case are gone. I did not need twenty plastic container lids or stacks of old magazines. I sorted everything into three piles: keep, donate, and recycle. My huge stock of papers found new homes with other artists, while worn-out supplies and stuff went into the trash and recycling.
Step 3: Define Zones
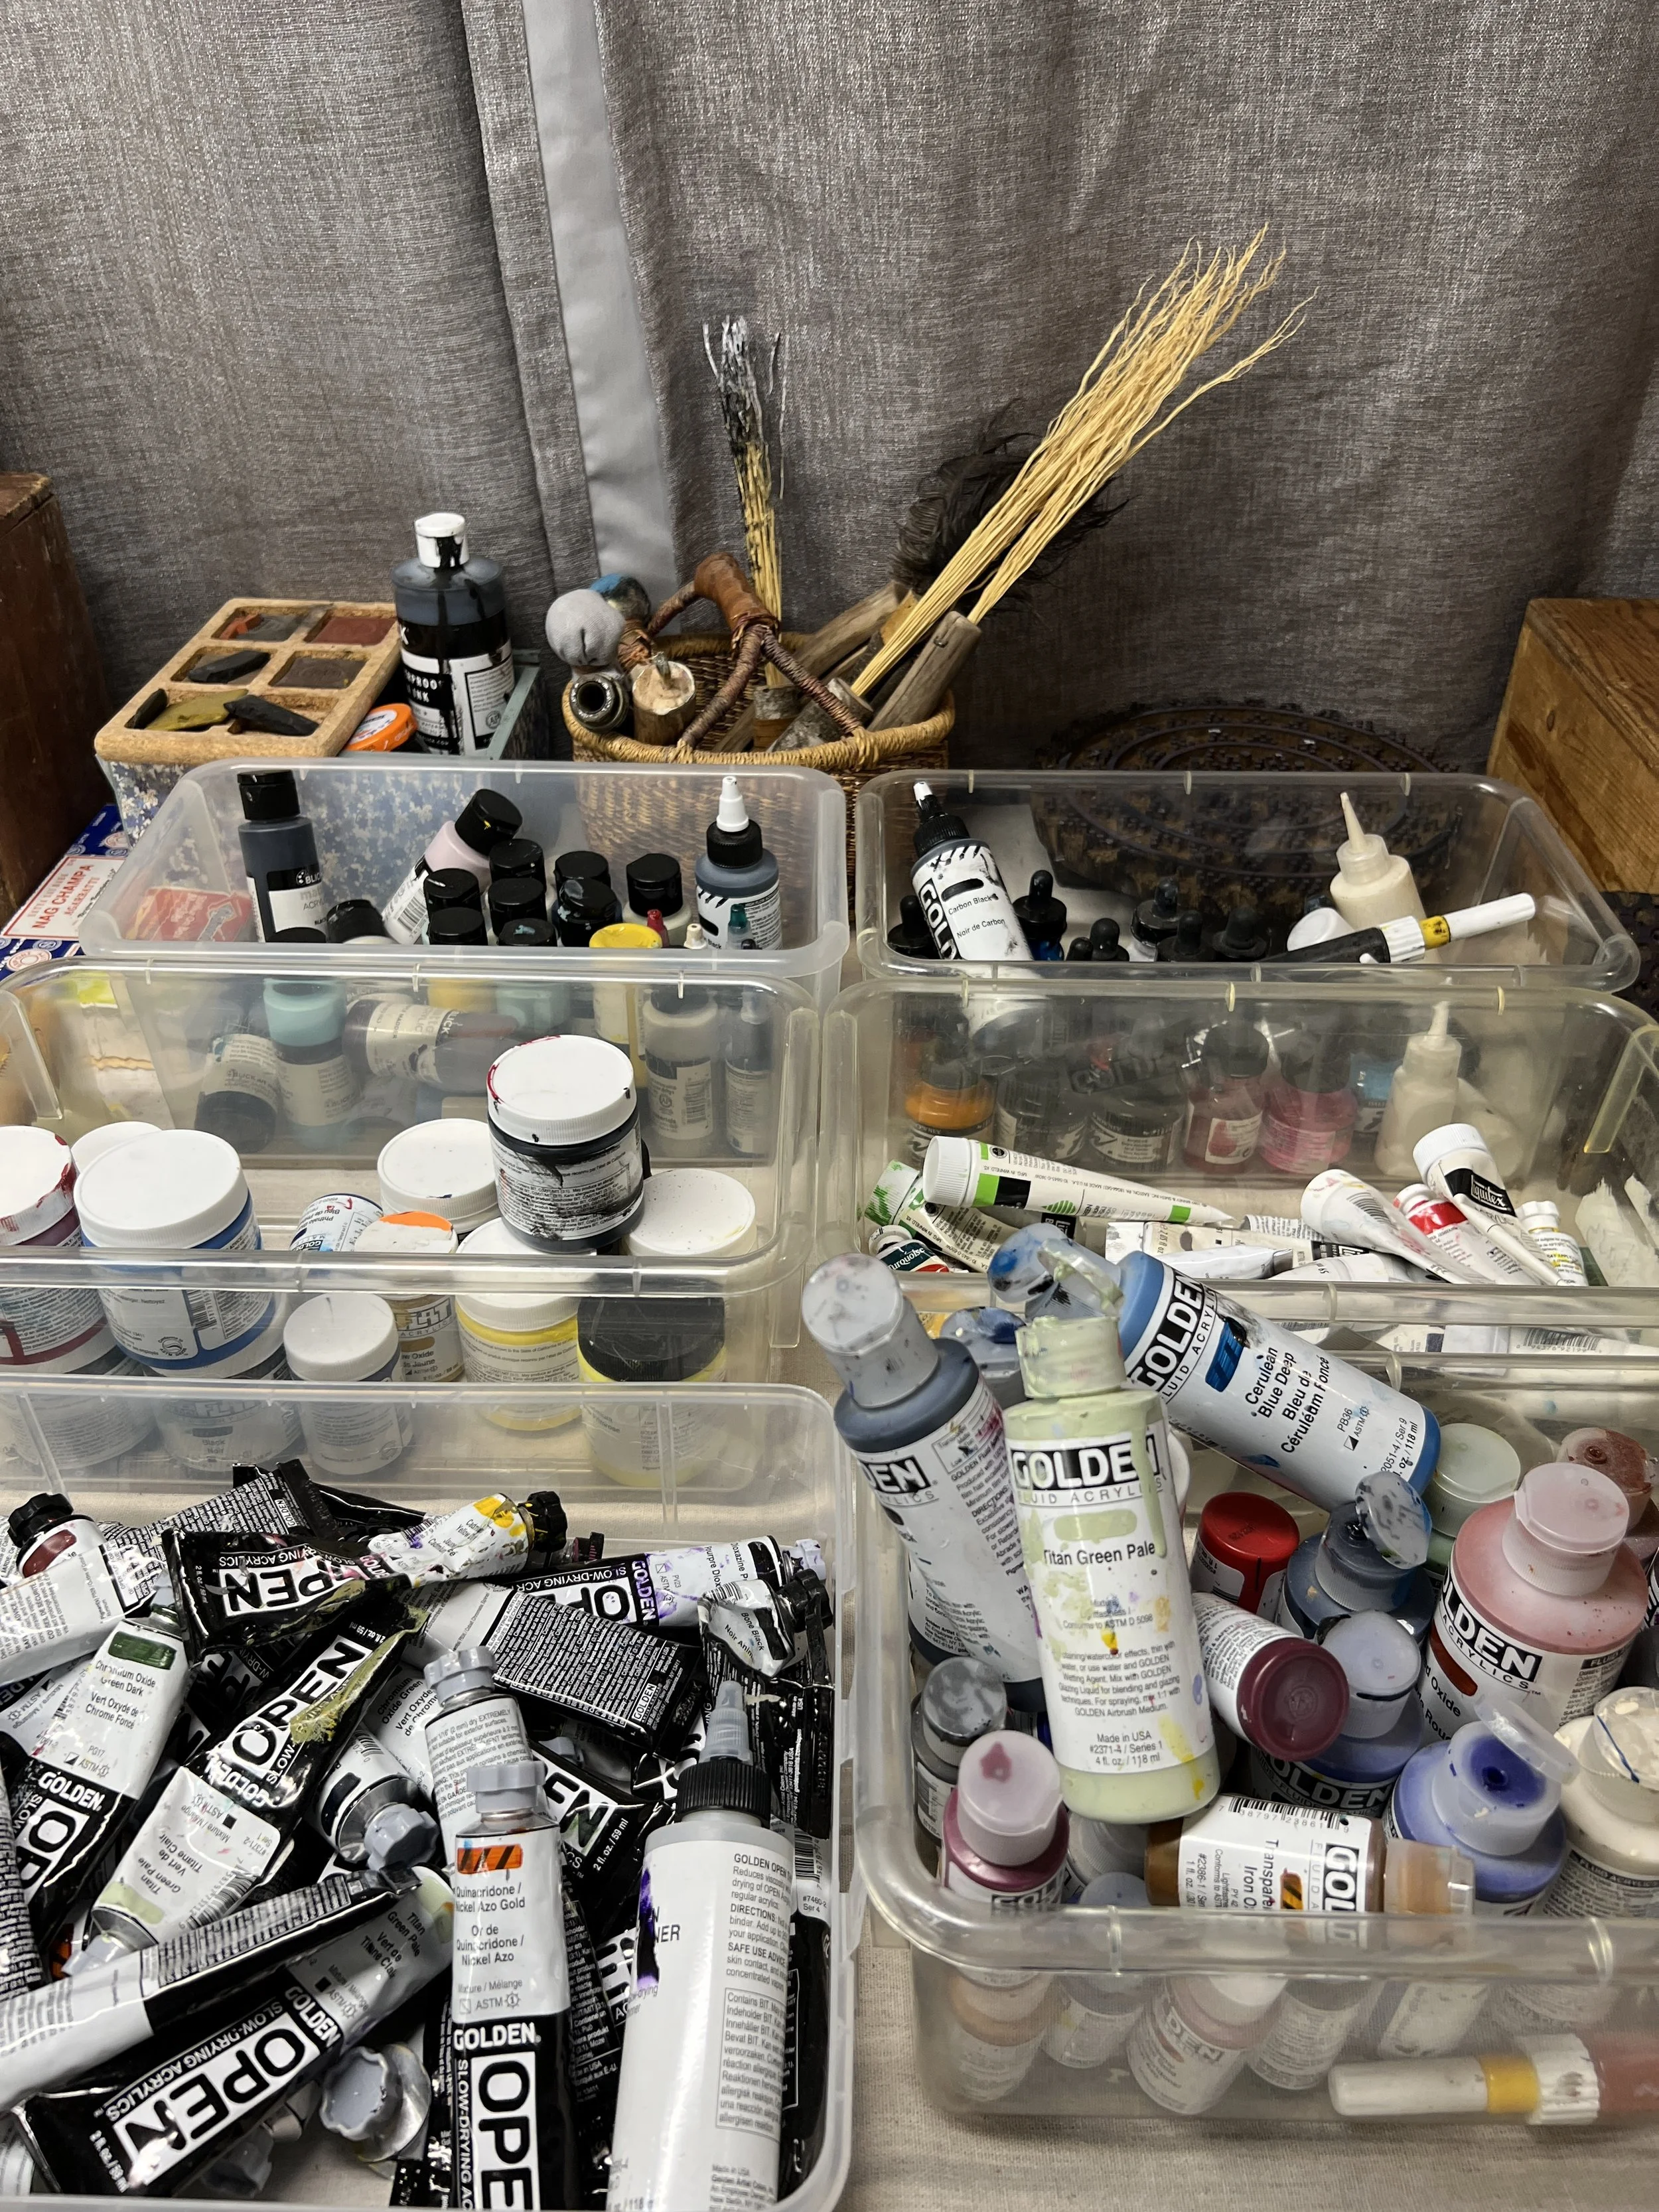
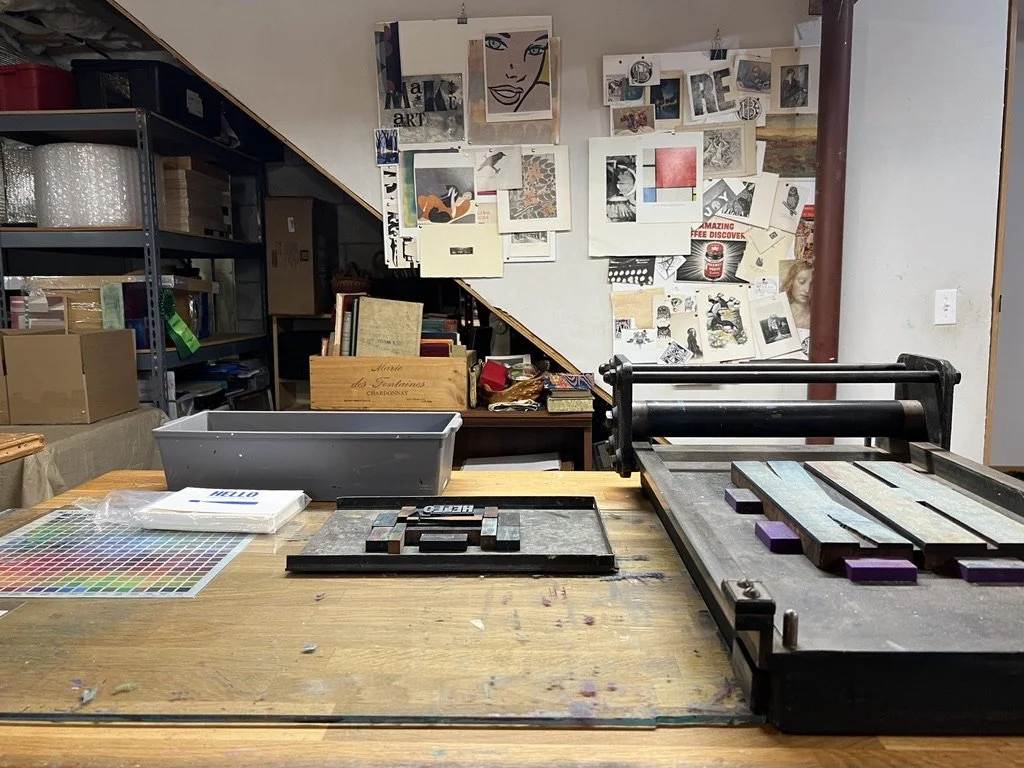
With the clutter out of the way, I had a clearer vision of my art studio's potential. To optimize the space, I divided it into specific zones based on my artistic activities. I designated an area for collage, gelli plate printing, and letterpress. Additionally, I created a dedicated zone for storing art materials like paints, brushes, pencils, and paper. This organization allowed me to easily locate the tools I needed for each project.
Step 4: Storage Solutions
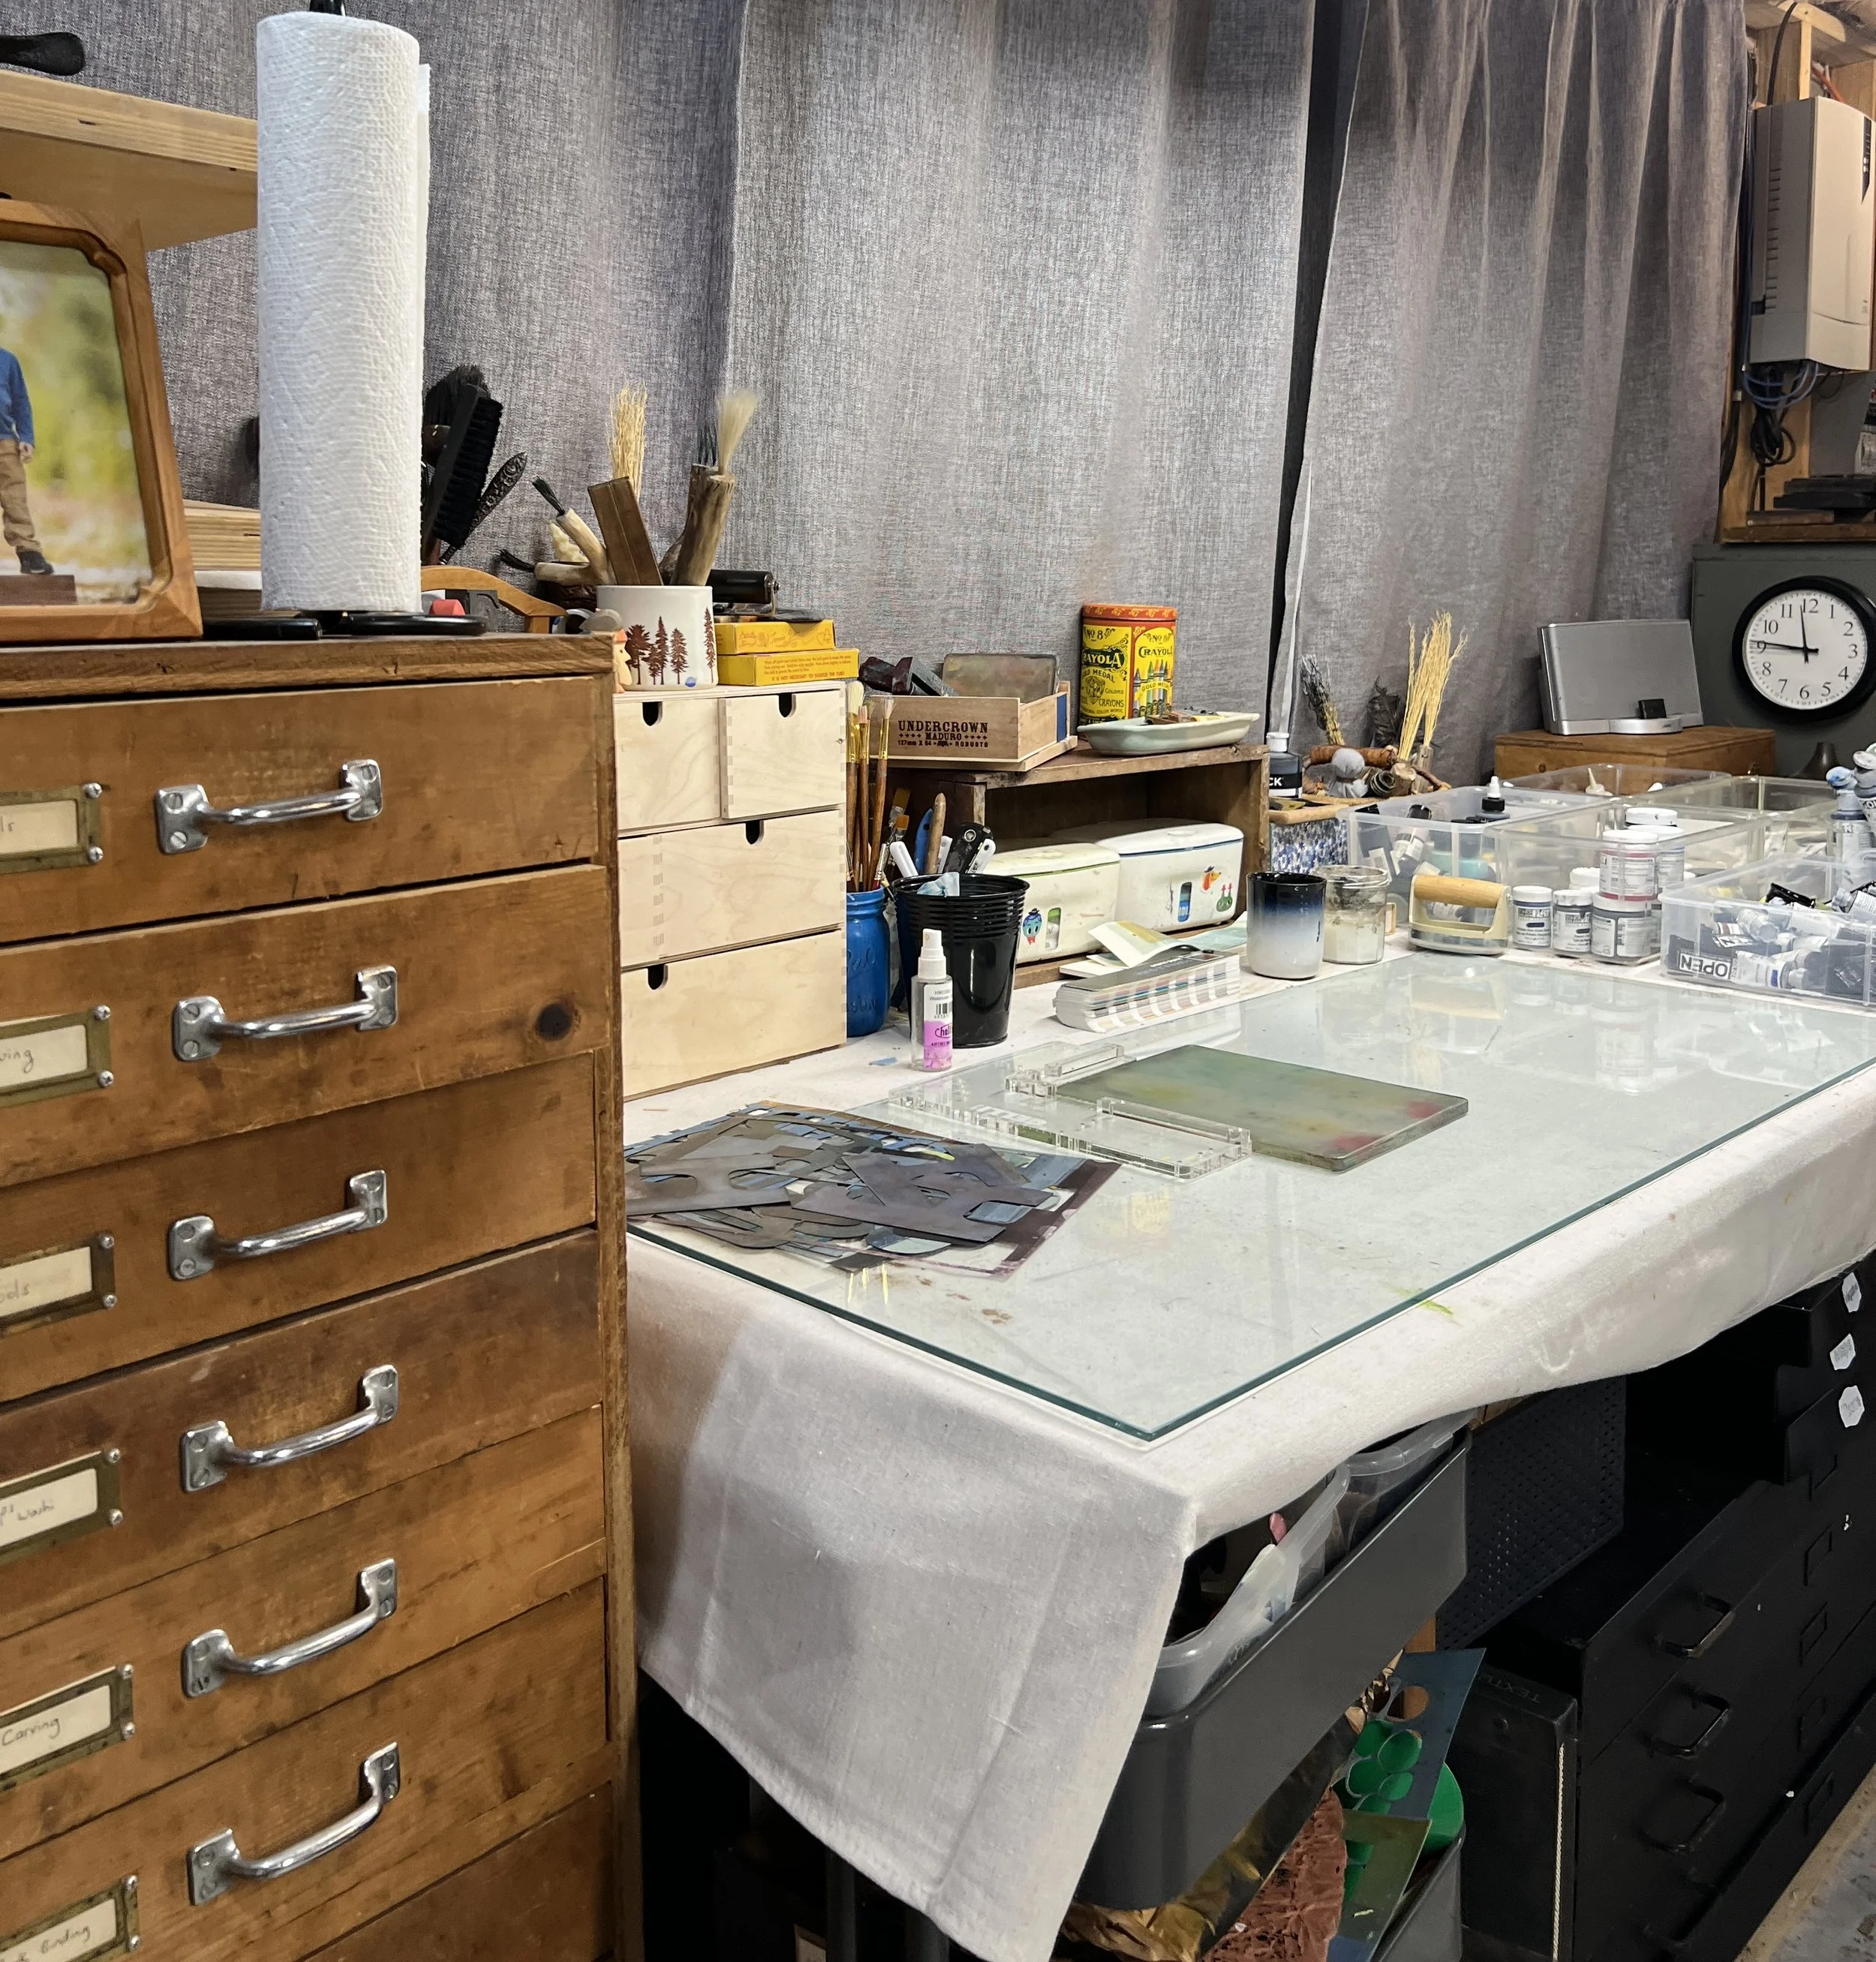
I mostly try to use what I already have for storage, which means nothing matches in my studio. I’m slowly figuring out what works and finding vintage furniture I love. I finally have a flat file and recently got a super tall drafting table.
Step 5: Create an Inspirational Space
No art studio is complete without inspiration. To fuel my creativity, I display little collections of wooden toys, handmade brushes, and lots of wooden type and stamps. A piece of foam board became a visual diary of images I remove from books.
Step 6: Keep It Tidy
Maintaining an organized art studio is an ongoing process. Now that I have less of everything, I hope to keep the chaos at bay.